


Overview of Raspberry Pi Home Security Systems
Utilising a Raspberry Pi for home security systems is becoming an increasingly popular choice. The Raspberry Pi is a versatile and affordable platform, ideally suited for custom automation projects, especially within the realm of home security. With its flexibility, homeowners can create personalised solutions that address unique security needs.
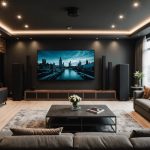
The importance of home security and effective video surveillance cannot be overstated. A robust security system not only safeguards property but also provides peace of mind. An efficiently set-up surveillance system can deter potential intruders and alert homeowners to suspicious activities.
This might interest you : Comprehensive guide to crafting a powerful 3d rendering workstation featuring the amd threadripper 3960x
One powerful software tool for managing camera systems on the Raspberry Pi is MotionEye. This application is particularly effective for those seeking to create a home security system. MotionEye’s comprehensive suite of features includes motion detection, remote accessibility, and video recording capabilities.
Using MotionEye on the Raspberry Pi, homeowners can set up multiple cameras and optimise their surveillance strategies. The software’s user-friendly interface simplifies the process of monitoring and can handle various camera types, making it an ideal choice for both novices and tech-savvy individuals interested in enhancing their home security systems.
Also to discover : Ultimate guide to crafting a lightning-fast 10gbe network using the tp-link tl-sx1008 switch: a step-by-step approach
Required Hardware and Software
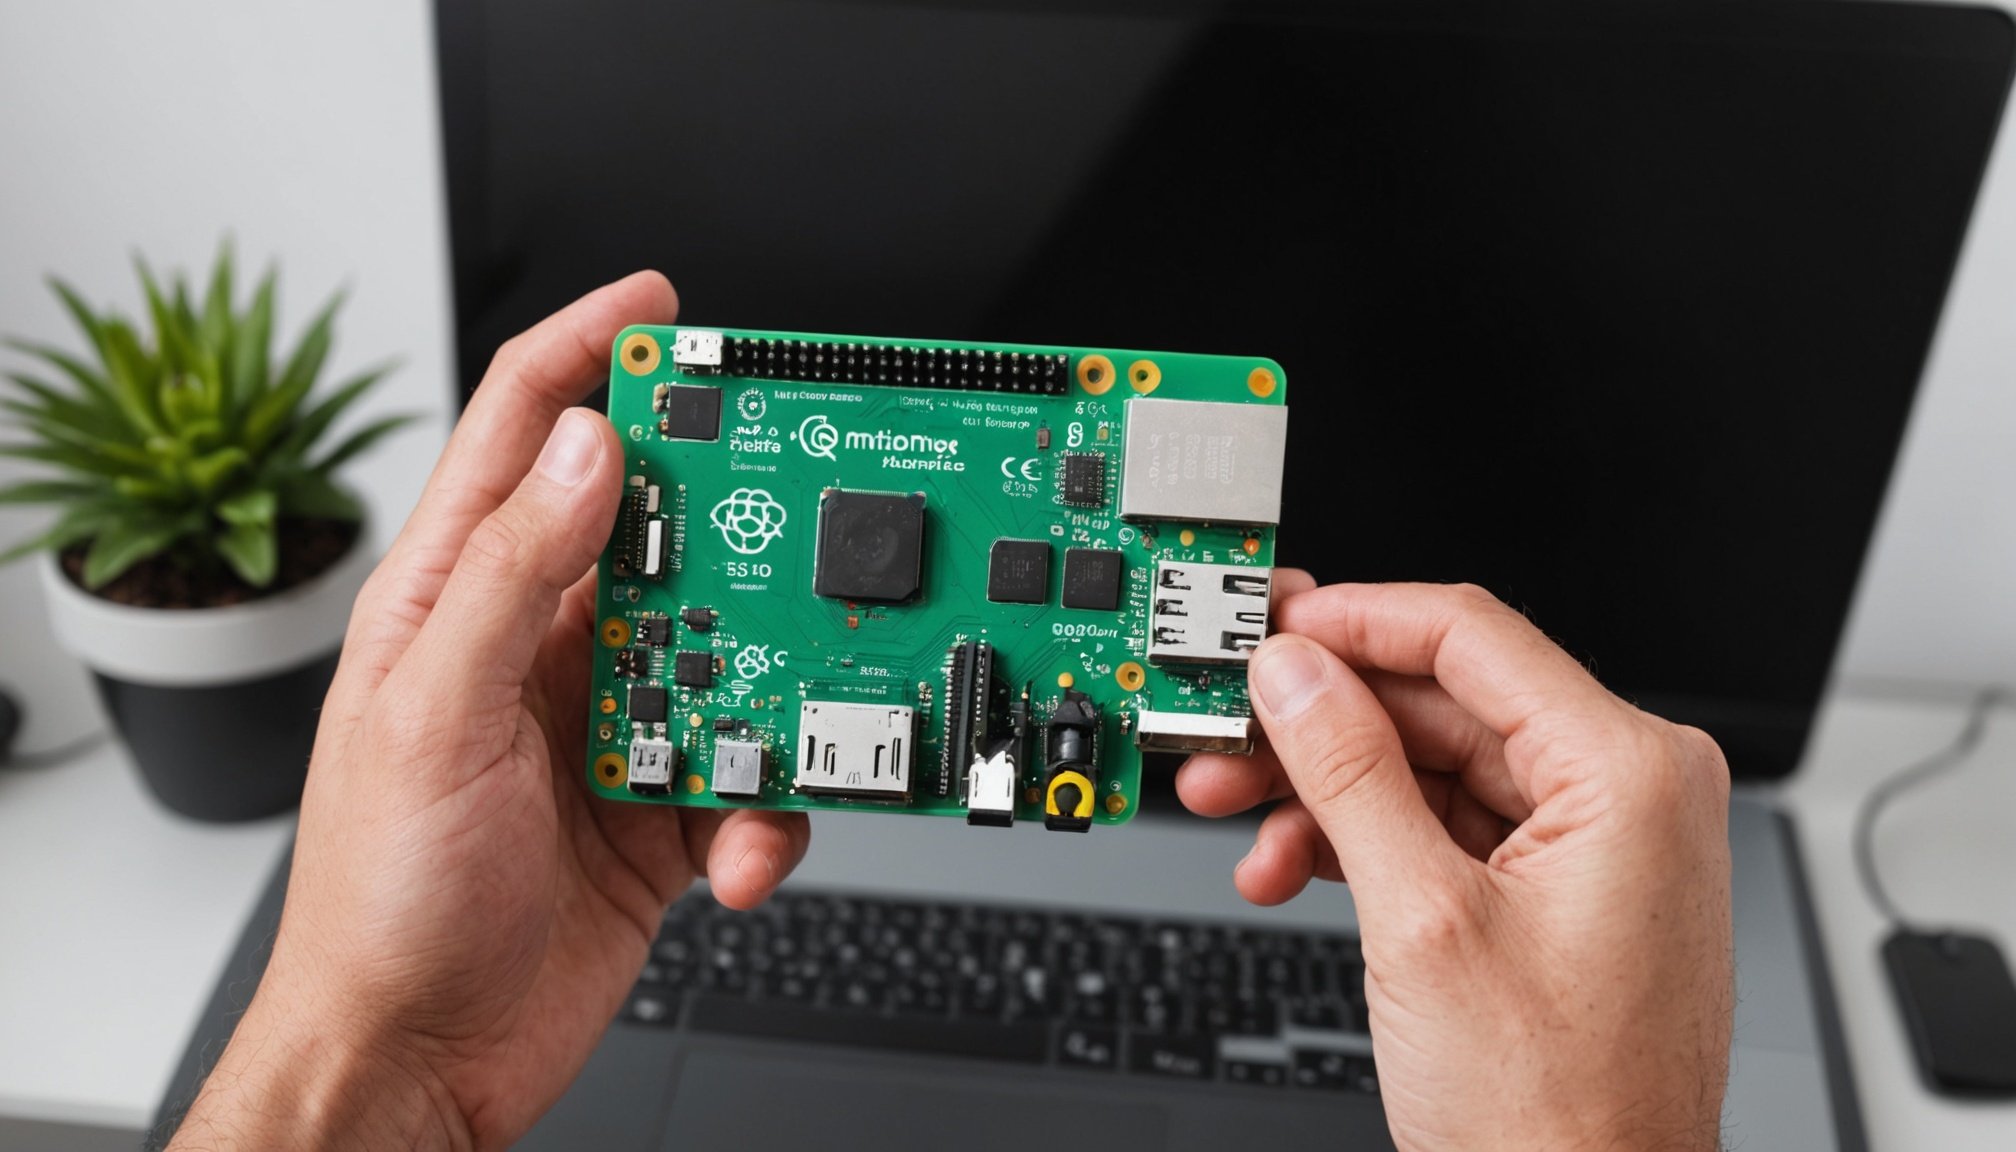
Setting up an effective security system with Raspberry Pi involves selecting the right components and preparing your system correctly. There are various Raspberry Pi hardware models to consider; however, the Raspberry Pi 4 often stands out due to its enhanced processing power and 4K video capability. It’s key to ensure your chosen model can handle the software without performance dips.
Camera Modules and Compatibility
For effective video surveillance, pairing your Raspberry Pi with compatible camera modules is essential. The official Raspberry Pi Camera Module V2 is a reliable choice, providing 8-megapixel resolution and compatibility with MotionEye—a top software application for security setups. You could also opt for third-party alternatives, ensuring they support infrared night vision where necessary.
Software Installation Steps
Software installation on your Raspberry Pi includes a few critical steps. Initially, set up your Raspberry Pi with Raspberry Pi OS, ensuring all system updates are applied. Next, to install MotionEye, start by adding its official repository to your system, followed by the software installation through the terminal. This process involves handling dependencies, which is simplified by the package manager. Always remember to test your installation to ensure all components function as intended.
Setting Up the Raspberry Pi
Setting up a Raspberry Pi for the first time might seem daunting, but with the right steps, it’s manageable. Initially, you’ll need to gather the essentials: a Raspberry Pi board, a microSD card (recommended 16GB or higher), a power supply, and an internet connection. To begin, flash the Raspberry Pi setup on the microSD card. You can use software like BalenaEtcher for this process.
Once the Raspberry Pi setup is complete, proceed to install MotionEye. Start by updating your system and installing necessary packages. You’ll want to make sure your Raspberry Pi system configuration allows for the seamless integration of MotionEye. Open the terminal and execute the installation commands in sequence. This will prepare your Raspberry Pi for running MotionEye, a powerful surveillance tool.
Configuring network settings is crucial for remote access. Assign a static IP to your Raspberry Pi to avoid connectivity issues. This ensures you can access the Raspberry Pi’s camera from any location. Access your router settings to reserve an IP for the Raspberry Pi setup, allowing consistent connections and enhancing MotionEye’s functionality. With these steps, your Raspberry Pi will be ready to function efficiently.
Key Configurations for MotionEye
Exploring MotionEye configurations is vital for efficient camera management and enhancing security settings. To begin, focus on configuring the camera management aspect, where you can add and organise cameras effortlessly. By categorising them based on specific areas or functions, monitoring becomes more precise.
Once your cameras are managed, it’s crucial to set up motion detection and alerts. This involves defining sensitive zones for motion activity and adjusting sensitivity levels to avoid false alarms. It’s wise to configure alerts, ensuring you receive real-time notifications during unusual activities for prompt response.
Optimising video quality is another area where MotionEye configurations play a pivotal role. You should balance video resolution and frame rate settings to guarantee clear footage without overwhelming your network bandwidth. Additionally, selecting proper storage options is essential for long-term surveillance. Whether you choose local or cloud storage, ensure that it aligns with your storage needs and retention policy.
Here are some helpful pointers:
- Use appropriate camera placement for the best coverage.
- Regularly update firmware for enhanced performance and security.
- Implement secure access protocols for your MotionEye configurations to prevent unauthorised access.
By focusing on these configurations, you enhance surveillance efficiency significantly.
Troubleshooting Common Issues
Dealing with Raspberry Pi troubleshooting can be daunting, especially when using it for a home security system. Common issues often stem from connectivity challenges or MotionEye problems, disrupting the system’s efficiency. Addressing these issues typically involves ensuring that all network components are functioning and interact correctly.
Connectivity issues generally occur when the Raspberry Pi fails to connect to the network or communicate with the camera. A good starting point for solving these is checking the Raspberry Pi’s IP configuration and ensuring that your network settings are correctly aligned with your router’s specifications.
Another prevalent issue is camera recognition problems. If the MotionEye is not detecting your camera, first ensure the camera is installed correctly and compatible with the Raspberry Pi version you are using. Additionally, rebooting the Raspberry Pi and resetting the camera often resolves minor glitches.
For persistent MotionEye problems, consulting online resources for further troubleshooting is valuable. Community forums and official Raspberry Pi documentation frequently offer updated solutions and insights. Engaging with user communities can also yield helpful advice, especially from those who have experienced similar challenges.
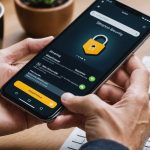
Enhancing Security Features
In today’s digital age, security features and privacy settings are paramount for protecting one’s home network. To enhance security, consider the following strategies:
First, integrate additional software designed for network security. Look for solutions that support advanced configurations and flexibility. They allow users to tailor settings specifically to their needs, boosting overall protection.
When it comes to home surveillance, maintaining privacy should be a priority. Regularly update your devices to patch vulnerabilities and employ strong, unique passwords. This helps safeguard against unauthorized access.
Adjust settings to restrict camera access, ensuring only trusted devices can connect. This simple step can significantly bolster security by limiting entry points for potential breaches.
Furthermore, consider installing a firewall to control incoming and outgoing traffic. This serves as an added layer of defense, filtering out malicious data before it reaches your devices.
For seamless integration, choose systems that offer compatibility with existing security equipment. This ensures ease of use and maximizes the protection provided by different security features working in tandem.
Finally, be mindful of configuring privacy settings to suit your specific requirements, routinely checking for new updates or best practices to maintain high standards in security.
Visuals and Screenshots
When setting up, a clear visual walkthrough enhances understanding and execution. MotionEye interface is user-friendly, yet having supplementary visuals boosts confidence for users of all skill levels.
Visual Walkthrough of Setup Process
To begin your MotionEye setup, follow these visual cues. The setup visuals simplify this process, offering reassurance across each installation step. This includes initial software configuration and connecting your camera devices.
Screenshots of Configuration Settings
Once the initial setup is complete, adjusting configuration settings is essential. Screenshots of the MotionEye interface guide users through:
- Adjusting resolution
- Selecting storage options
- Fine-tuning motion detection preferences
These visuals are instrumental in translating technical settings into accessible, step-by-step actions.
Example Layouts for Camera Placement
Optimal surveillance coverage doesn’t solely rely on technology but also strategic camera placement. Here are three example layouts:
- Entrance-focused for screening visitors
- Wide-angle views in living areas for broad surveillance
- High-positioned angles for unobtrusive monitoring of public zones
User guides typically highlight these strategies, emphasising their importance in crafting a comprehensive security system.